Hub Settings
The Hub Settings page allows you to configure the general information, domain, URL path, and other settings for a Hub. You can also view the Hub URL, domain status, publication status, and company logo.
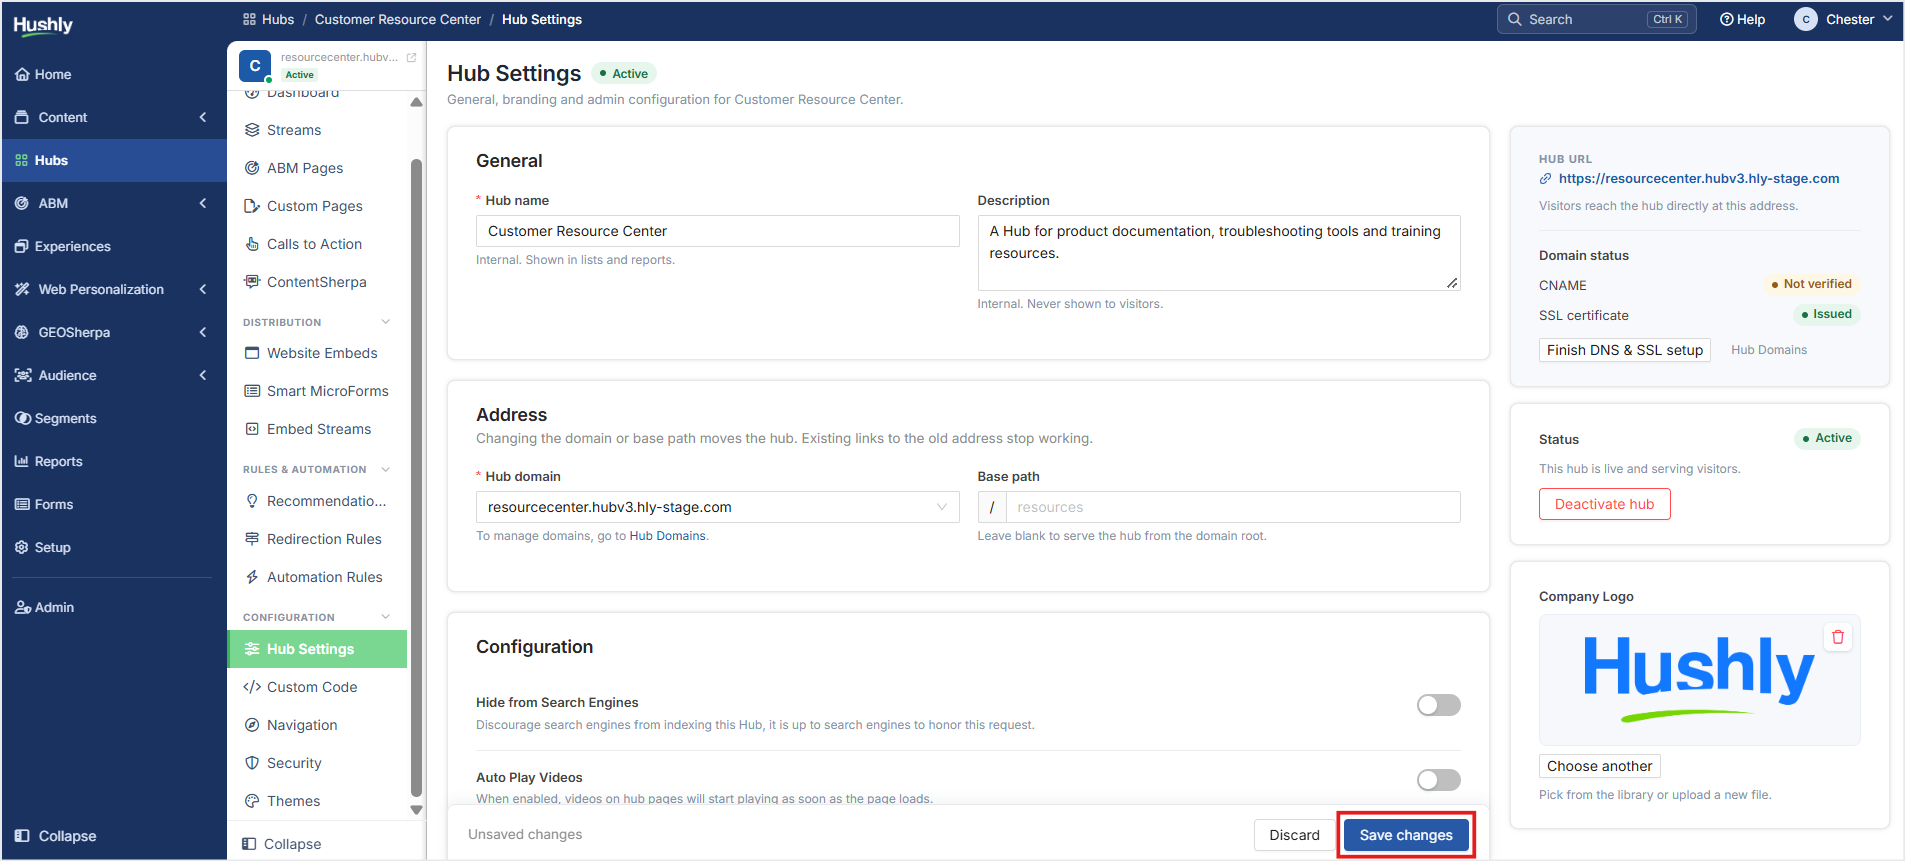
To configure a Hub, follow the steps below:
From the Left Navigation Menu, click Hubs. On the Hubs listing page, select the Hub you want to manage. From the Hub Menu, under CONFIGURATION, click Hub Settings.
The Hub Settings page contains the following sections:
General
Hub URL
Address
Status
Configuration
Company Logo
Delete Hub
Branding
Advanced
Click Save changes at the bottom of the page to apply your changes.
General
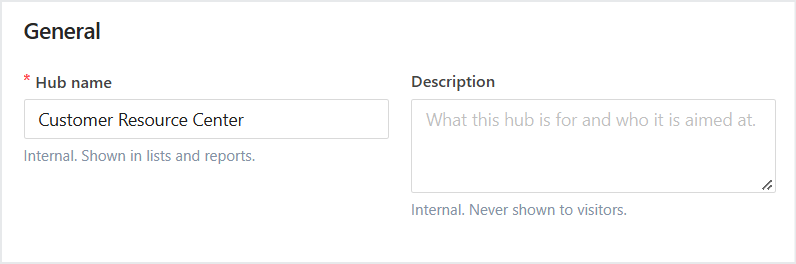
Use the General section to provide basic information about the Hub
Note: The Hub name and description are for internal purposes only and are not displayed to visitors.
- Hub Name - Enter the name of the Hub in the Hub name field. This is a required field.
- Description - Enter a description of the Hub in the Description field. The description is visible only to you and your organization.
Hub URL
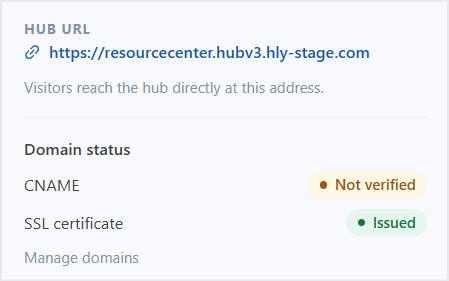
The Hub URL section displays the URL visitors use to access the Hub. Click the URL to open the Hub. The section also displays the domain status, including:
- CNAME - Indicates whether the domain's CNAME configuration has been verified.
- SSL certificate - Displays the status of the SSL certificate.
Click Manage domains to manage the domains associated with the Hub.
Address
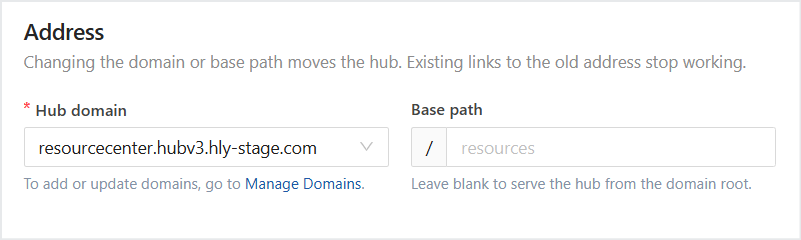
Use the Address section to configure the domain and base path from which the Hub is served.
Note: Changing the domain or base path moves the Hub. Existing links to the previous address will no longer work.
- Hub Domain - From the Hub domain drop-down list, select the domain on which the Hub is hosted.
- Base Path - Enter a path in the Base path field if you want the Hub to be served from a specific path on the selected domain. For example: /resources. Leave the Base path field blank to serve the Hub from the domain root.
Status
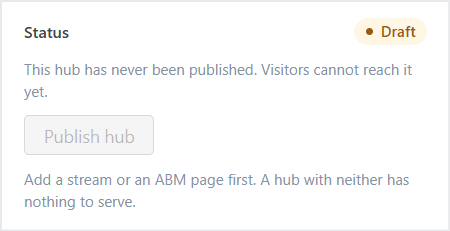
The Status section displays the current publication status of the Hub. A Hub can have a Draft status before it is published. A draft Hub is not accessible to visitors. Click Publish hub to publish the Hub.
Note: A Hub must have at least one stream or ABM page before it can be published. A Hub with neither has no content to serve.
Configuration
The Configuration section provides options for controlling how the Hub behaves.
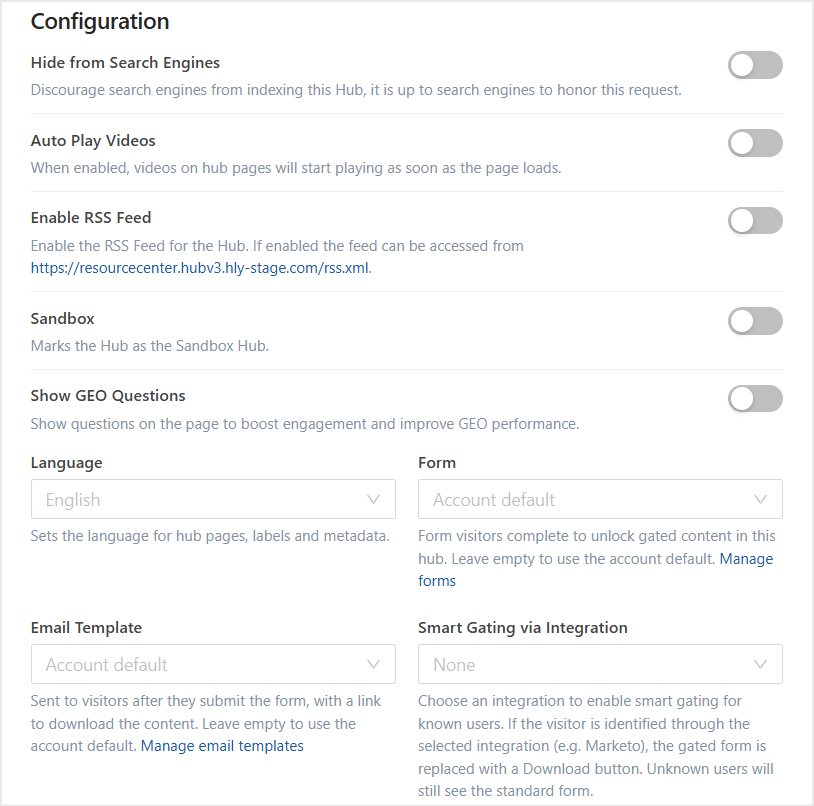
- Hide from Search Engines - Enable Hide from Search Engines to discourage search engines from indexing the Hub.
Note: Search engines determine whether to honor this request.
- Auto Play Videos - Enable Auto Play Videos to automatically start videos on Hub pages when the page loads.
- Enable RSS Feed -Enable the RSS Feed for the Hub. If enabled the feed can be accessed from https://resourcecenter.hubv3.hly-stage.com/rss.xml.
- Sandbox - Marks the Hub as the Sandbox Hub.
- Show GEO Questions - Show questions on the page to boost engagement and improve GEO performance.
- Language - Sets the language for hub pages, labels and metadata.
- Form - Form visitors complete to unlock gated content in this hub. Leave empty to use the account default.
- Email Template - Sent to visitors after they submit the form, with a link to download the content. Leave empty to use the account default.
- Smart Gating via Integration - Choose an integration to enable smart gating for known users. If the visitor is identified through the selected integration (e.g. Marketo), the gated form is replaced with a Download button. Unknown users will still see the standard form.
Company Logo
Use the Company Logo section to add your organization's logo to the Hub. Click Choose a logo/Choose another and select a logo file in PNG or SVG format. The uploaded logo is used as the company branding for the Hub.
Delete Hub
Draft and inactive hubs can be permanently deleted. This cannot be undone.
Branding
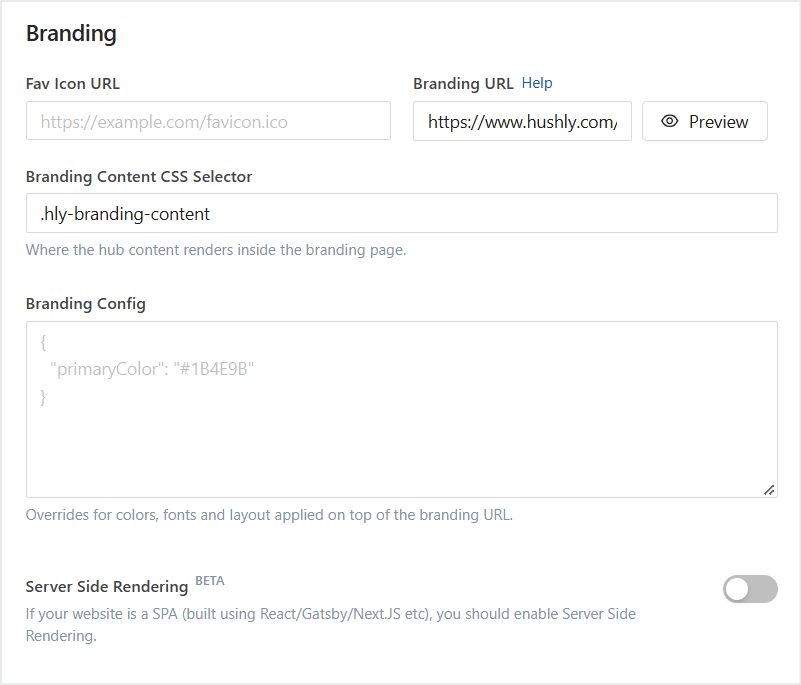
The Branding section in Hub Settings allows you to customize the appearance and integration of a Hub with your existing website. You can configure the favicon, branding URL, content placement, branding overrides, and server-side rendering.
Fav Icon URL - Enter the URL of the favicon you want to use for the Hub in the Fav Icon URL field. For example: https://example.com/favicon.ico
Branding URL - Enter the URL of the website whose branding you want to use for the Hub in the Branding URL field. Click Preview to preview the branding associated with the specified URL. How to use a Branding URL.
Branding Content CSS Selector - Enter the CSS selector that identifies where the Hub content should be rendered on the branded website. For example: .content-body, #page-body
Note: Enter the CSS selector corresponding to the location where you want the Hub content to appear.
Branding Config - Use the Branding Config field to specify overrides for the branding applied from the Branding URL. You can use this configuration to customize colors, fonts, and layout. For example: {"primaryColor": "#1B4E9B"}
Fav Icon URL - Enter the URL of the favicon you want to use for the Hub in the Fav Icon URL field. For example: https://example.com/favicon.ico
Server Side Rendering - Server Side Rendering is a beta feature. Enable this option if your website is a single-page application (SPA) built using frameworks such as React, Gatsby, or Next.js. This allows the Hub to use server-side rendering when integrating with such websites.
Advanced
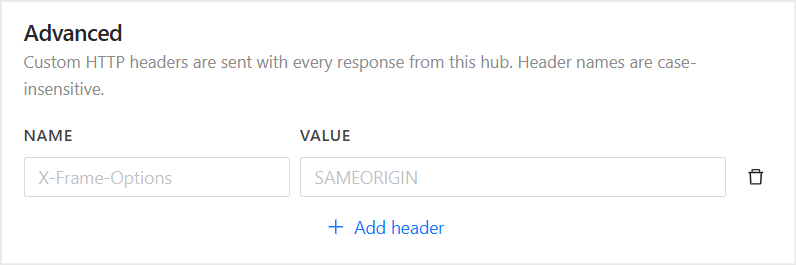
Custom HTTP headers are sent with every response from this hub. Header names are case-insensitive.
Name - X-Frame-Options
Value - SAMEORIGIN
Click Save changes at the bottom of the page to apply your changes.

Was this article helpful?
That’s Great!
Thank you for your feedback
Sorry! We couldn't be helpful
Thank you for your feedback
Feedback sent
We appreciate your effort and will try to fix the article