Hushly makes it simple to create account-focused landing pages. Hushly offers templatized ABM landing pages that you clone and customize for a specific account, such as 1:1 ABM or for groups of accounts that we call "clusters". A cluster can be 2 accounts or thousands of accounts. We've created scale and flexibility to ensure you can market to your accounts the way you want to. If you have 500 accounts, get your web team to create 500 personalized landing/destination pages for each account, and If your ABM target account list consists of experience is just not practical. It's actually a lot more than 500 when you talk about true ABM personalization because there are, on average, 8 members in a buying committee for each account, so technically, you need 4,000 different landing pages if you wish to offer personalized landing page experiences for each member of the buying team.
Hushly offers templatized ABM landing pages that you clone and customize for a specific Account (or for a Cluster of Accounts). The best part is you do not need a developer, nor do you need to know HTML, JavaScript, and CSS to deploy personalized ABM landing pages at scale.
What are the standard fields of an ABM Page?
- Page Name.
- Page Description (Optional).
- Page URL Path.
- Default Account - The default account domain associated with the page e.g., citibank.com.
This is optional and may only require 1:1 (one-page to one-account) ABM personalization.
Prerequisite for creating a Hushly ABM Page
Hushly ABM Pages are a part of the Hushly Hub solution. You would either need a sandbox Hub or a production hub to use Hushly ABM Pages.
Creating an ABM Page:
To create an ABM Page, you can follow the steps below:
- From the Left Nav Menu, click Hubs.
- On the Hubs page, select a Hub.
- From the Hub Menu, select ABM Pages.
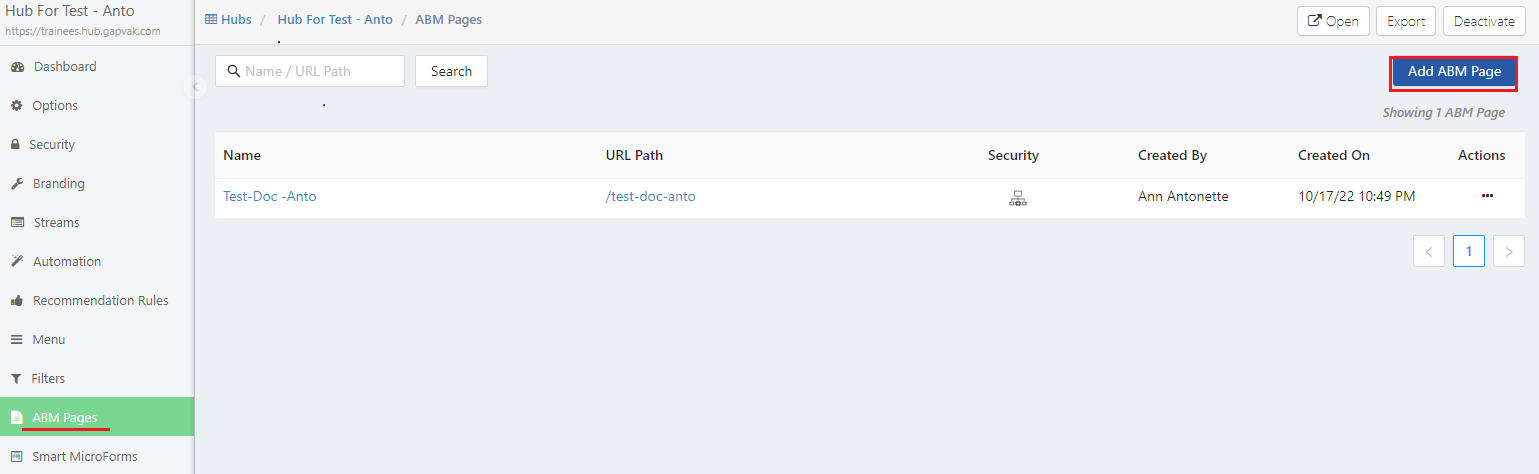
Note: ABM Pages can also be created from the Left Nav Menu > ABM > Pages. - Click Add ABM Page.
- Optionally, select an existing ABM Page Variation that can be used as a template to create your new ABM page.
Note: This option can be useful when there are already ABM Pages built; for the first time, this option would be blank. - Enter a Name for the ABM Page. Add a Description (The description is for internal purposes and is optional). The URL Path is generated automatically with the name. You can make changes to the URL Path, as required.

- Optionally, select the account from the Default Account drop-down list by typing the account name into the box.
Note: The default account is only set if you are executing 1-to-1 ABM personalization (one ABM page to one account). - Enable the Toggle for Allow Inferred Accounts (optional).
When a Visitor from the Account accesses the Page, this will enable the creation of a non-existing or inferred account.
- Enable the Toggle for Track Anonymous Visitor(optional)
When a visitor accesses the base URL of an ABM page, they are registered as a Guest visitor with the company listed as Unknown. However, if the same visitor accesses a URL containing an email parameter (e.g., em=xxx@xxxx.com), the system updates the visitor to an Account Visitor, adding the email details, and the company is updated from Unknown to the domain associated with the visitor's email.
- The default location for the ABM Page is the Uncategorized/ABM Page Folder. Click on Choose to designate a different folder of your choice for placement.
- Click Save. The ABM Page Configure page is shown.

- Click on Variations, and the ABM Page Variations listing page shows up. A Default Variation shows up in the listing.

- Click on the Variation link, the Variation design page shows up, with the Left Panel menu on the left side, the preview of the page is displayed in the middle.

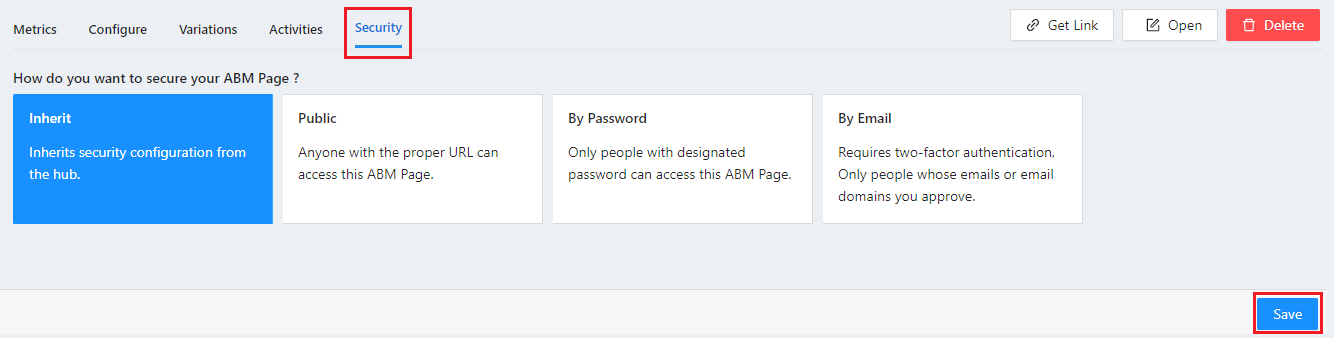
- Click on Security and choose how you want to secure your AMB Page from the options. Click here to know more about ABM Page security.
What is the structure of an ABM Page?
Typically, an ABM landing page would have 10 Standard Page Blocks in the Preview Panel.
- Header
- Banner
- Promotion
- Testimonials
- Features
- Content - [Marketing content]
- Complementary
- Image Gallery
- Custom
- Footer
The Page Blocks on the left side can be configured and customized within each of the Blocks above and are described in detail in each section. 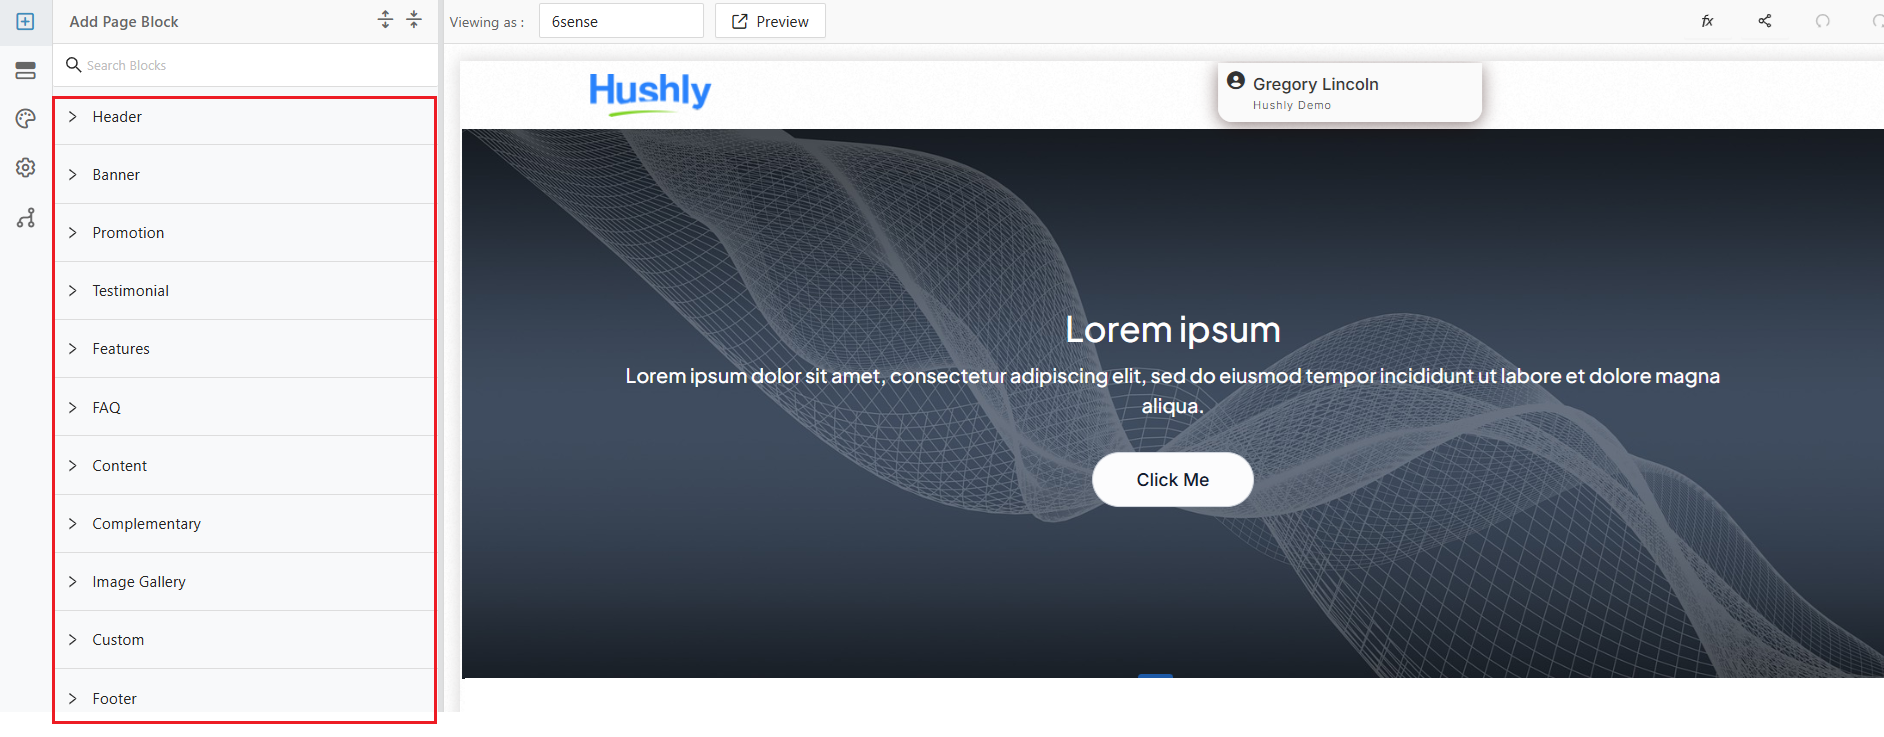
Note:
- Changes to the page's content or configuration are auto-saved.
- In an ABM Page, Blocks like Banner, Promotion, Testimonials, Features, FAQ, Content, Complementary, Image Gallery, and Custom can be added multiple times up to a max of 3 times. Header and Footer Blocks can be added only once.
- You can add or delete Page Blocks on the ABM Page. For example, you can add another Promotion Block after the Marketing Content Block.
- You can change the order of these blocks by dragging and dropping individual blocks to fit the order you like.
You can define custom Page Blocks and save them as Global Page Blocks that can be used in multiple ABM Pages within and across Hubs. Click Here to learn how to customize Page Blocks.
Adding a Page Block on an ABM Page
- Adding a Page Block - Header - Click here
Adding a Page Block - Banner - Click here
Adding a Page Block - Promotion - Click here
- Adding a Page Block - Testimonials - Click here
- Adding a Page Block - Features - Click here
- Adding a Page Block - FAQ - Click here
- Adding a Page Block - Content - Click here
- Adding a Page Block - Complementary - Click here
Adding a Page Block - Image Gallery - Click here
Adding a Page Block - Custom - Click here
Adding a Page Block - Footer - Click here
Styling the Page Blocks on an ABM Page
Style your ABM Page by selecting a Page Block in the left Section and configuring the content setting the desired styling in the Style section, and observing the applied Content and Styling in the Preview.
- Styling ABM Page Block: Header - Click here.
- Styling ABM Page Block: Banner - Click here.
- Styling ABM Page Block: Promotion - Click here.
- Styling ABM Page Block: Testimonial - Click here.
- Styling ABM Page Block: Features - Click here.
- Styling ABM Page Block: Content - Click here.
- Styling ABM Page Block: Complementary - Click here.
- Styling ABM Page Block: Image Gallery - Click here.
- Styling ABM Page Block: Footer - Click here.
Click Publish to apply the changes made to the page to be viewed at run time.
Click History to view the published versions.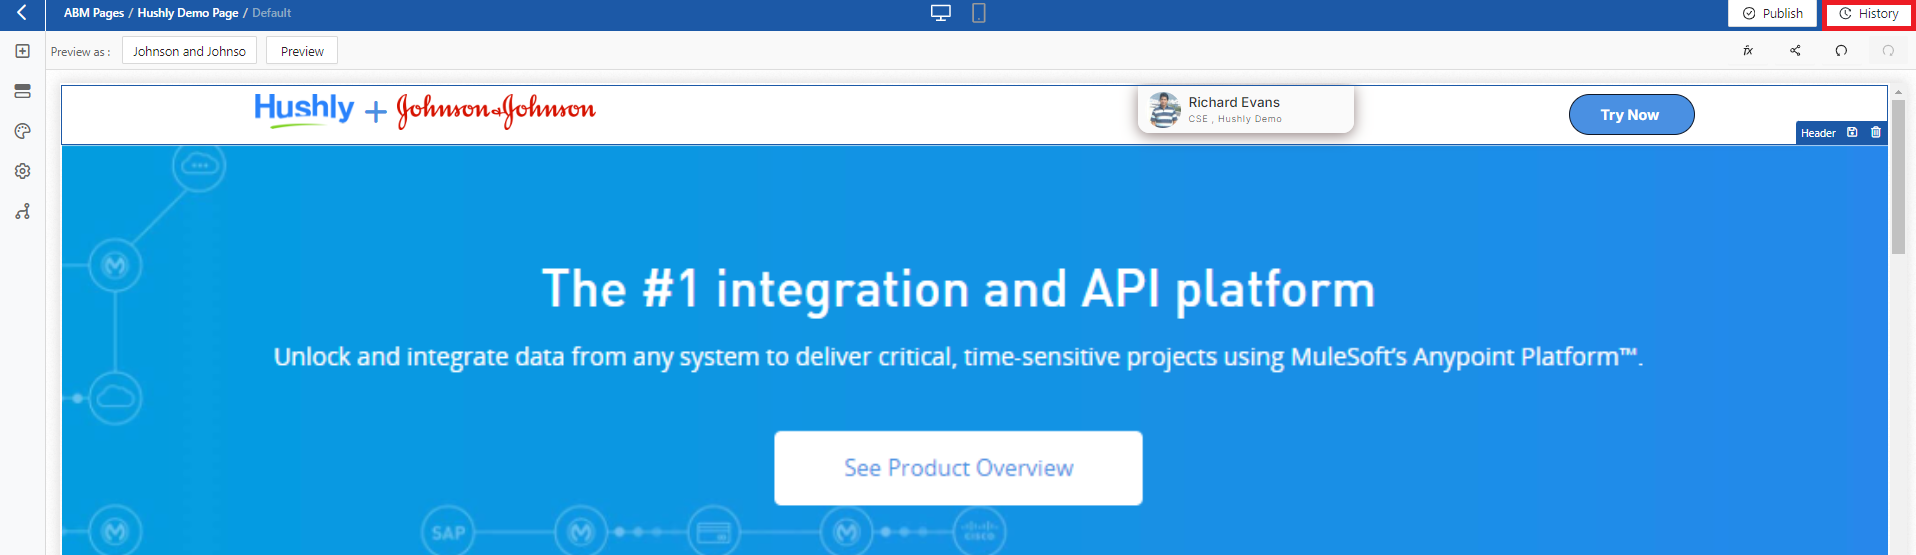
Note: In the History pop-up, clicking on Revert under the Action column will update the draft content back to the previous version.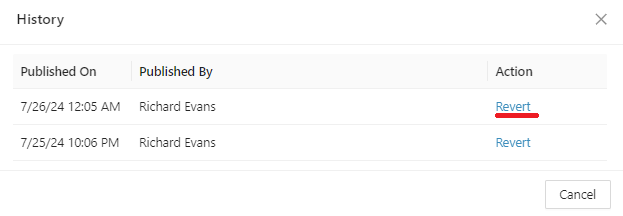
Right below the Title bar, you have more options, such as:
- Preview as comes with a field to select an Account, and the ABM Page is altered based on the selected account.
- Preview Button will give you a Preview of the ABM Page in a new tab.
- Tokens: Add Tokens to your ABM Page. Learn more about Tokens here.
- Get Links: Get Links to your ABM Page. Learn more here.
- Undo and Redo Buttons: Click Undo to reverse the last action or series of actions. Click Redo to reapply the previously undone action(s).
ABM Page displayed in Runtime.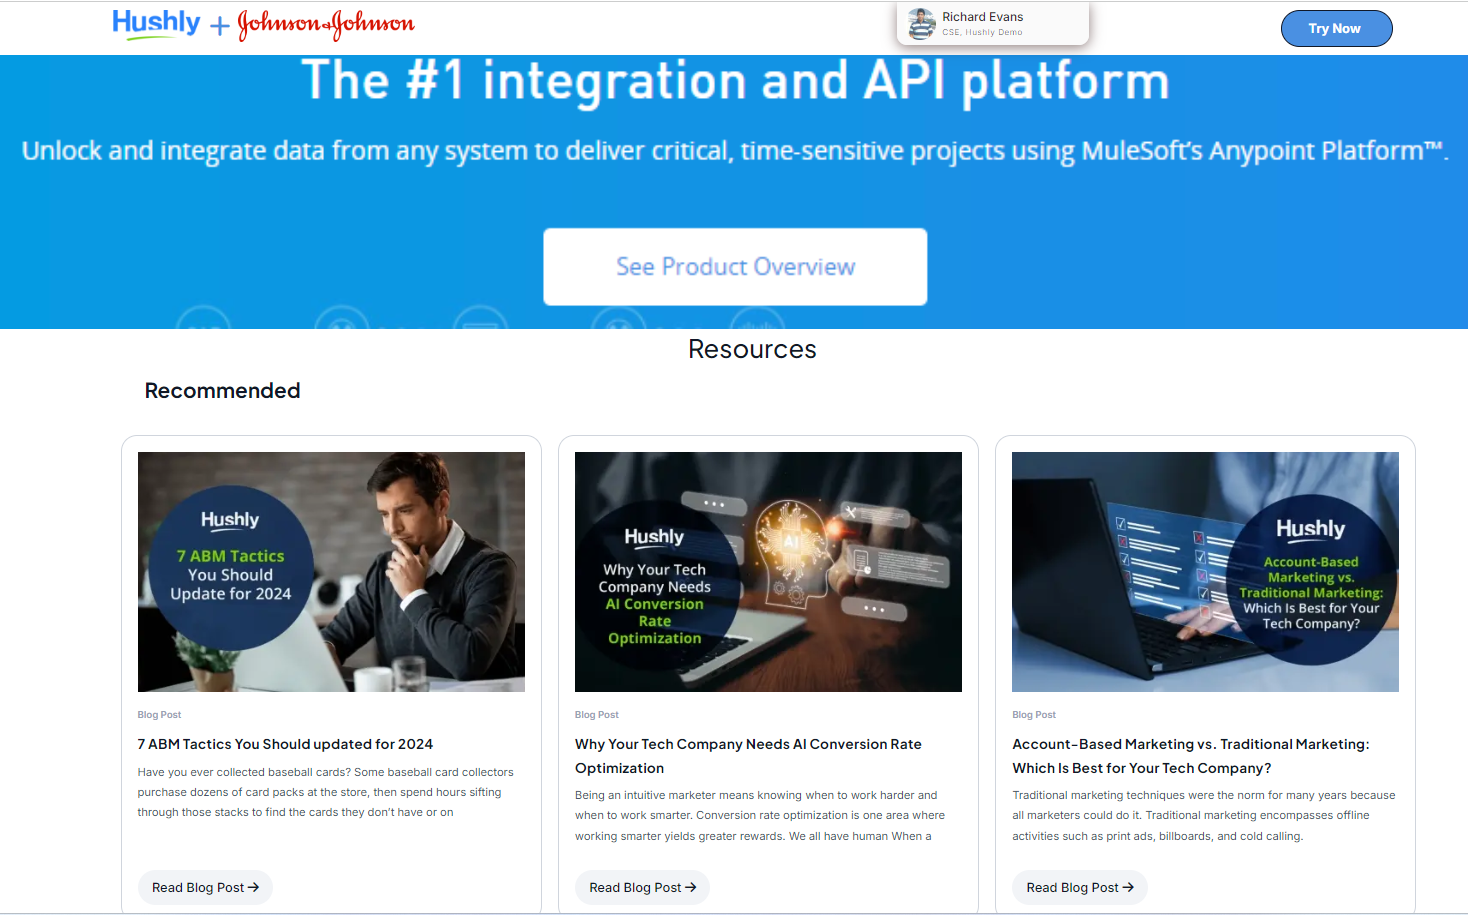
Related Topics:
Was this article helpful?
That’s Great!
Thank you for your feedback
Sorry! We couldn't be helpful
Thank you for your feedback
Feedback sent
We appreciate your effort and will try to fix the article