A heavily visited website has many web pages and landing pages with users wanting to know more. With Hushly, you can leverage your content Assets to showcase relevant content for users. Using Embed Streams, you can showcase content on any web page or landing page.
The workflow to embed a Stream is as follows:
- Configure options.
- Generate the Embed Stream Code.
- Copy and paste the Hushly Embed Tag and Embed Stream Code into the webpage or landing page.
To Embed a Stream:
- From the Left Nav Menu, click Hubs.

- From the Hub listing page. Select a Hub.

- From the Hub menu, click Embed Streams.

- Click Add Embed Stream.

- The Configure tab shows setup details, with the Home Stream displayed in the preview section by default.

- Enter a Name.

- Select a Stream from the drop-down list, and the selected stream will be displayed in the Preview section.
 Note: If you don’t have any active Streams, they will not be displayed. Please refer to Adding a Stream.
- Select an option from the Item Selection Method field.
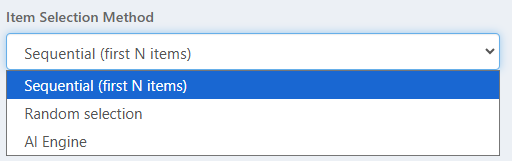
- Sequential (first N items) - Displays the first N items from the current stream based on the default sorting order.
- Random Selection - Displays a random set of items from the current stream each time the embed loads.
- AI Engine - Uses the AI engine to intelligently select the most relevant items from the current stream.
- Enter tags in the Filter by Asset Tags (Optional) field. Based on the selected filter, Assets tagged at the Asset level will be displayed.

- You can also filter Assets by Catalog Fields by clicking Show Filters (Optional). The Assets that are configured with the Catalog fields at the Asset level will be displayed.


- Click Item Tile Size to choose the size of the Asset thumbnail.

- Click the On Item Click Open In drop-down to choose whether to open the Asset in a New Window or the Same Window of a browser.

- Enter the maximum number of items to be displayed in the stream in Max Items.

- Optionally, you can enter Custom Styles to set a style for the embedded stream.

- Check the Preview section to see how the Stream appears.

- Click the Add Personalized Stream button to personalize the stream by adding Segments.

The Add Personalized Stream pop-up is displayed with the Configure and Preview sections. In the Configure section, add a Segment from the drop-down. By default, the home stream is displayed. You can also select the Item Selection Method from the given options. You can select a stream from the Select Stream drop-down. Assets can be filtered by Tags or Catalog fields (Optional). Click Add to save changes.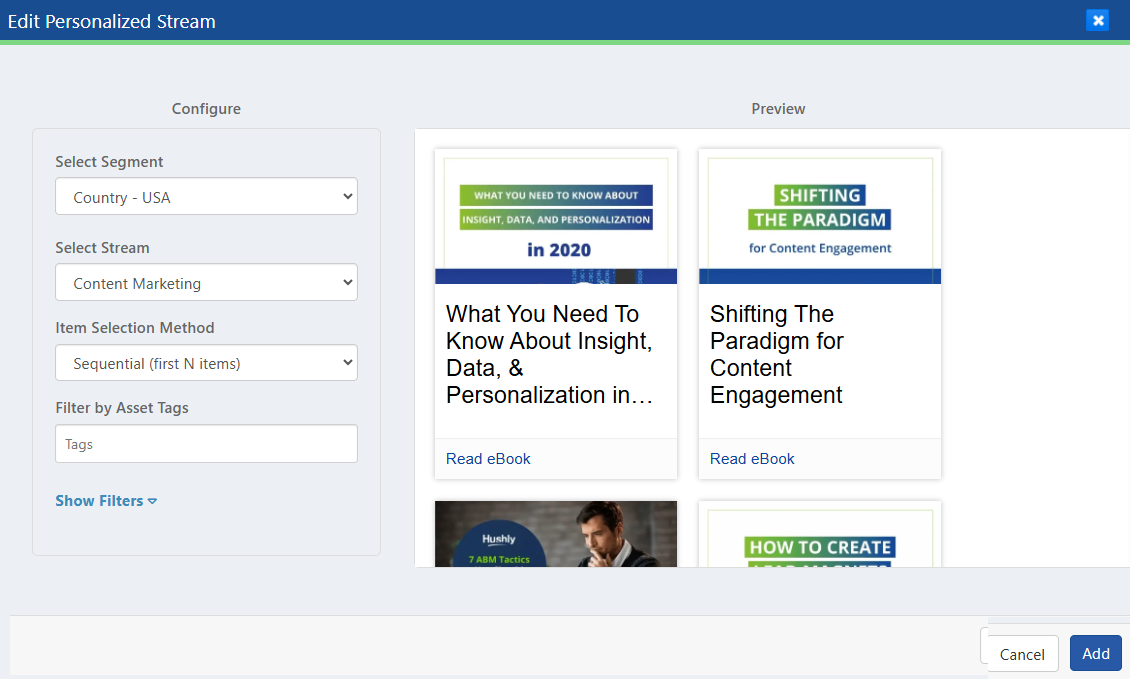
The saved Personalized Stream is displayed with the Segment and Stream, along with the Edit and Delete buttons. Note: Visitors from the USA will be able to view the Personalized Stream based on the Segment Rule, and the rest of the visitors will view the default, Embed Stream.
 - Click Save after configuring the Embed Stream. A confirmation message is displayed.

- The Embed Code tab is enabled. Click the Embed Code tab.

- In the Embed Code tab, you can either select the HTML or Tag Embed Type and copy the Embed Code.
 Note: Your configuration is auto-saved whenever you change the Embed Type (HTML/Tag).
 - Copy the Hushly Embed Tag and install it in the website's Header (before the </head>tag).
- Copy the Stream Embed Code and paste it into the section of the webpage where you want to showcase it. For example, if you want to showcase the Stream in the body section of a webpage, you can simply paste the Stream Embed Code in the body.
- Once the Hushly Embed Tag and Stream Embed Code are added to your Website, the Embed Stream will display on the page as follows.

Related Topics:
Editing and Deleting an Embed Stream
Was this article helpful?
That’s Great!
Thank you for your feedback
Sorry! We couldn't be helpful
Thank you for your feedback
Feedback sent
We appreciate your effort and will try to fix the article